Create a Wind Tunnel Project

Most of the menu interactions will be with the WindTunnel project menu, which has items to open existing modelbuilder projects, create new projects, save projects, and close projects.
To begin, select the menu item. In response, modelbuilder displays a dialog for specifying a directory for storing persistent data. Use the Browse button to open a file system browser and navigate to convenient location and create a new directory there. A suggested location is $HOME/modelbuilder/projects/wingsection. After creating and selecting the directory, return to the New Project dialog and click the Apply button.

Note
You can use an existing directory if you check the OK to overwrite existing directory? box. If you do that, modelbuilder will delete the directory’s previous contents when you click the Apply button.
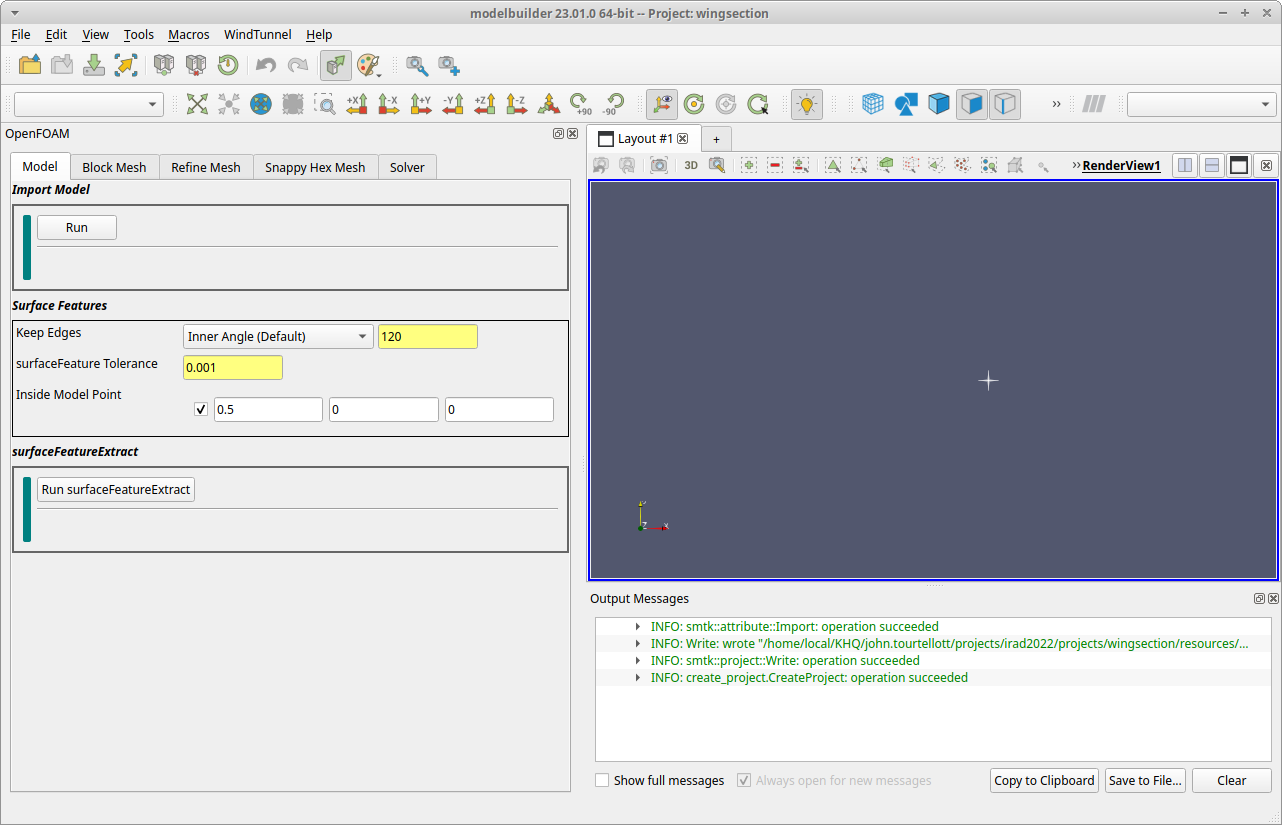
When the dialog closes, modelbuilder creates an empty project and the OpenFOAM dockable widget (in the sidebar) will display a set of tabs for user input. In brief:
The Model tab is for importing the model geometry.
The Block Mesh tab is for setting the wind tunnel geometry and generating the initial background mesh.
The Refine Mesh tab is for optionally adding refinement regions to the background mesh.
The Snappy Hex Mesh tab if for generating the analysis mesh.
The Solver tab is for specifying the physics and running the solver.
We will be traversing these tabs from left to right in the next pages.