Mesh the Target Geometry
With the wing section geometry loaded and the wind tunnel block mesh generated, the next step is to generate the analysis mesh of the wing section inside the wind tunnel. To do this, we will use the OpenFOAM snappyHexMesh utility, which works by iteratively refining the wind tunnel mesh and morphing the resulting split-hex mesh to fit the surface of our wing section geometry. The specification of mesh refinement levels is very flexible and includes final mesh quality metrics. The utility includes an optional phase to shrink back the resulting mesh and insert cell layers (which we won’t be using). It also can run in parallel with a load balancing step every iteration.
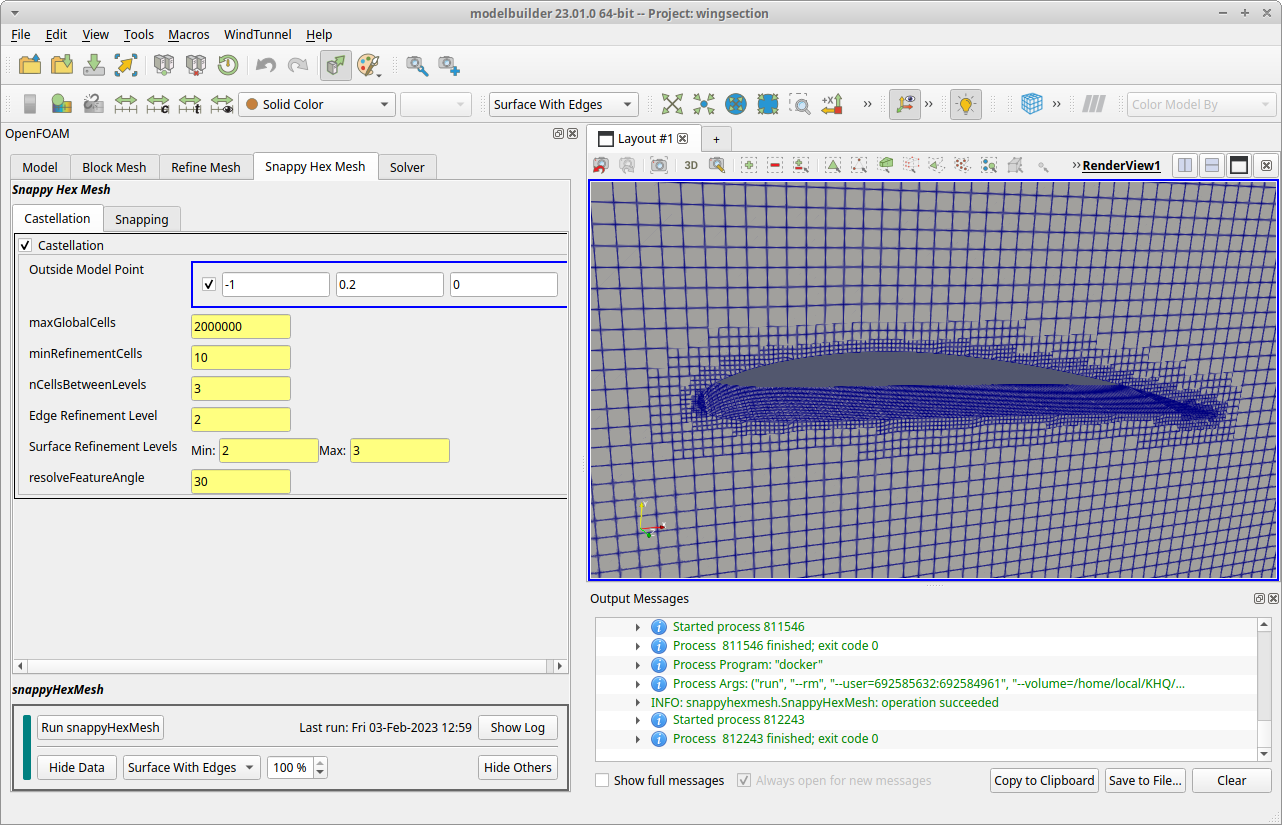
For this wing section example, we will be using a limited set of snappyHexMesh features, and also producing a relatively coarse mesh for reasons of expedience. The Snappy Hex Mesh tab is decomposed into two children tabs, labeled Castellation and Snapping. We can use the default values in each tab, so for this tab, all we need to do is run the snappyHexMesh utility.
1. Run snappyHexMesh
The bottom section of the tab is a control view labeled snappyHexMesh. Click the Run snappyHexMesh button to launch the OpenFOAM snappyHexMesh utility. Modelbuilder will display the log messages in a pop up dialog. The process typically takes less than 20 seconds with most present-day desktop machines. Close the dialog when you see the “Finished meshing” information followed by a line with the word “End”.
2. View the Mesh
To see the results, click the Load Data button in the control view, and then click the Hide Others button to stop displaying the wing model and block mesh. If you zoom in, you can see that snappyHexMesh removed cells located inside the wing section and refined the cells at and near the surface. This mesh would typically be considered very coarse by production standards, but is sufficient for this example.
This completes the meshing tasks; now we can use the results to compute fluid flow.